Last Updated on 26 January 2026 by Alisea Mae
Learning how to self-tan isn’t easy. That’s something I found out myself when trying different products and slowly learning about the best methods. That is why I have created this guide on tanning to help you achieve better results and a better experience.
My aim here is to offer some helpful tips based on my own research and mistakes. I reckon I have spent around 4-6 hours on blogs, YouTube videos, and more so hopefully this will save you some time. There is a lot to consider with the preparation and application process and there were maintenance tips I had never considered before. But, it was worth the effort because I know the benefits of a good natural self-tan.
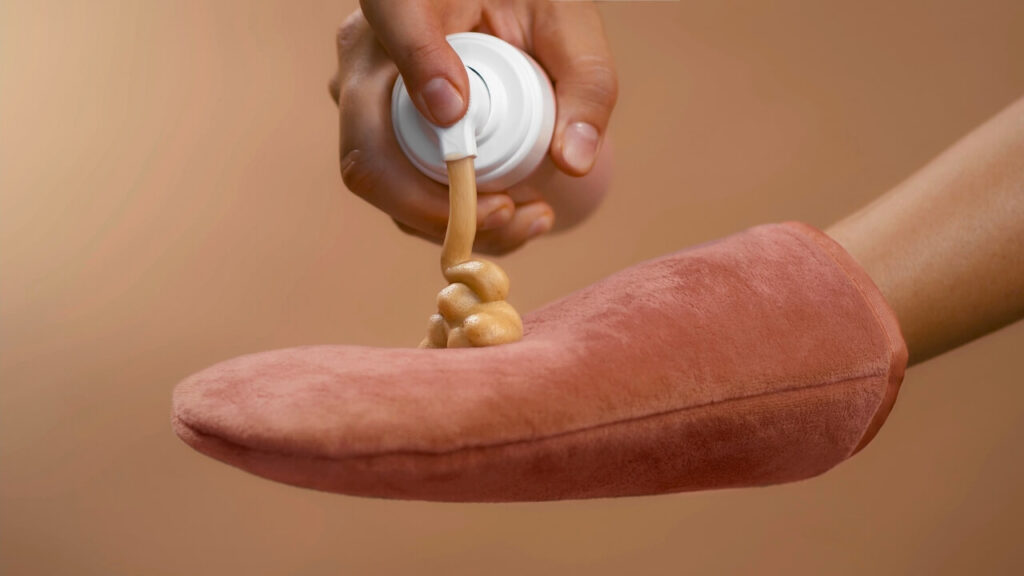
There are good ways to tan and bad ways. In the summer, we can add a little colour responsibly in the sun as long as we still wear sunscreen. In other seasons, we may decide to top up the colour artificially. We should be able to have skin as tanned or pale as we want without the risks of skin damage from chemical spray tans or tanning beds. If you have concerns about the production of free radicals and premature ageing via fake tan and want some extra protection you can apply an antioxidant body cream or serum 2-3 hours prior to applying your tanners. In my research, I discovered Dr Shereene Idriss talk about this in her ‘Self Tanning how to protect your skin’ video which I highly recommend. Shereene is a certified dermatologist and I find her videos very entertaining and informative. She covers topics relating to skincare and beauty and has a huge online following.
Natural Self Tanning
There are lots of natural fake tan products in a lotion, oil or mousse out there for topping up a tan. You can even use make-up products for coverage if you want to.
These products should have a 100% natural formula. This means no risks of synthetic substances and chemicals that might damage or irritate the skin. Oils used in the ingredients can vary from coconut and argan nut oil to olive and sunflower. There are often additional moisturising agents as well, such as aloe vera. Most also use natural, botanical fragrances instead of perfumes.

Buyers will also be pleased to learn that it is also possible to find products that are certified vegan and aren’t tested on animals. Some of the best products seem to tick all the right boxes for those that are sick of chemical tans and questionable products. Still, with all that choice, you need to know the best methods.
Learning how to self-tan at home can seem daunting when you see how much there is to remember. So, let’s break the process into three key stages. They are
– preparing your skin for the tanner
– applying the tan correctly
– maintaining the skin and tan for a better experience
Preparation
This is something I learnt from my research that I think is very important for anyone new to self-tan. The process doesn’t start when you open the bottle of tanner. Instead, you need to be careful to prepare your skin. Not only will this create a better result, but you can help keep your skin nice and healthy in the process. Think of it a little like priming a canvas for a painting. You want a nice clean surface with a good texture, right? Well, the same applies to your skin.
There are three key steps here and you really shouldn’t skip any, even if you are in a hurry. They are
– removing old products to start fresh
– exfoliating the skin and shaving for a better surface
– a final cleanse before applying your tanner.
Start by getting rid of any remaining tan. This is important if you are learning how to self-tan more effectively and had issues with previous applications. Use a nice natural tan remover with a comfortable mitt to get rid of all traces of the last product. Get back to your natural skin tone and start over. You don’t want any discolouration or blotches anywhere.
From there, it helps to create a nice smooth surface for an even coat of your new tanning lotion. Start by shaving where necessary. This process is of course optional depending on your preferences and the body parts you’re tanning. But, if you want completely smooth skin, shave before tanning. Shaving is best carried out about 24 hours before tanning so the skin isn’t too irritated. If you prefer to wax, do this a couple of days in advance and make sure there is no wax residue on your skin.
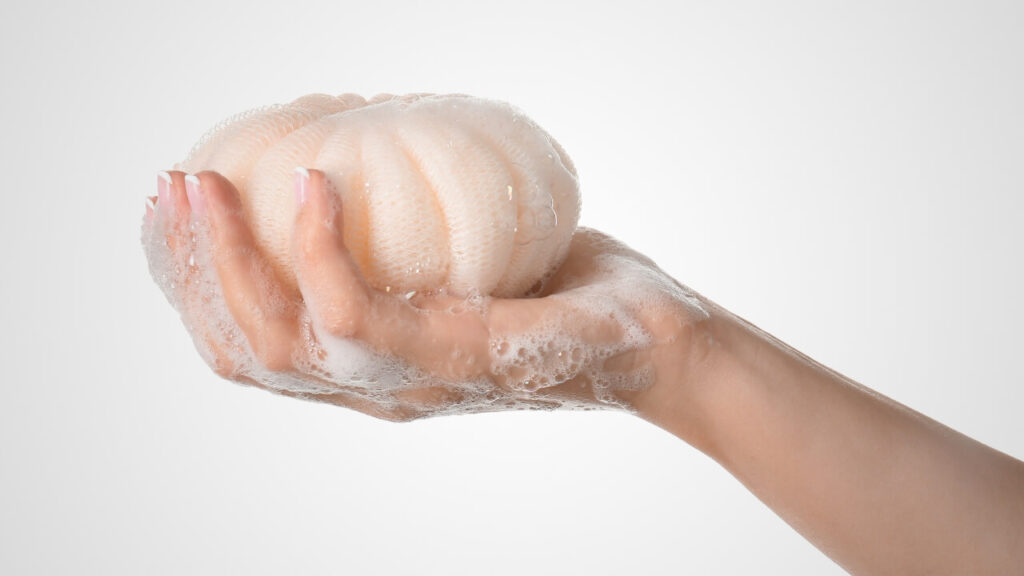
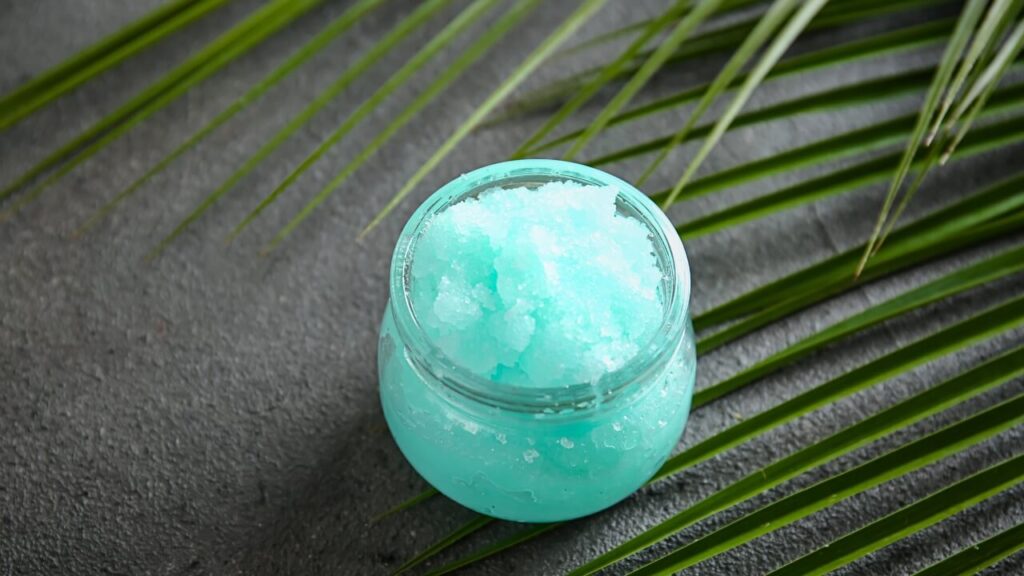
With the hair gone, you can continue your session and get rid of dead skin cells. If you tan over dead cells you might not have the uniform look you want for very long. Any natural exfoliating body scrub will work fine here, or you can use an exfoliating glove with a bar of soap. Pay attention to areas with rougher, thicker skin that require more effort such as the elbows. You will later add moisturise to the treated skin just before applying the tanner and again you will need to be careful in these areas.
Finally, you will want to take a shower and make sure the skin is nice and clean just before you tan. If you are feeling brave do a quick cold rinse to close the pores before stepping out of the shower. Dry yourself off thoroughly, tie up long hair, and refrain from using deodorants or perfumes which could react with the tanner and stop you from achieving the best finish. Also, remember to remove any jewellery. Wait about 10 to 15 minutes before moving on to the next step.
Application
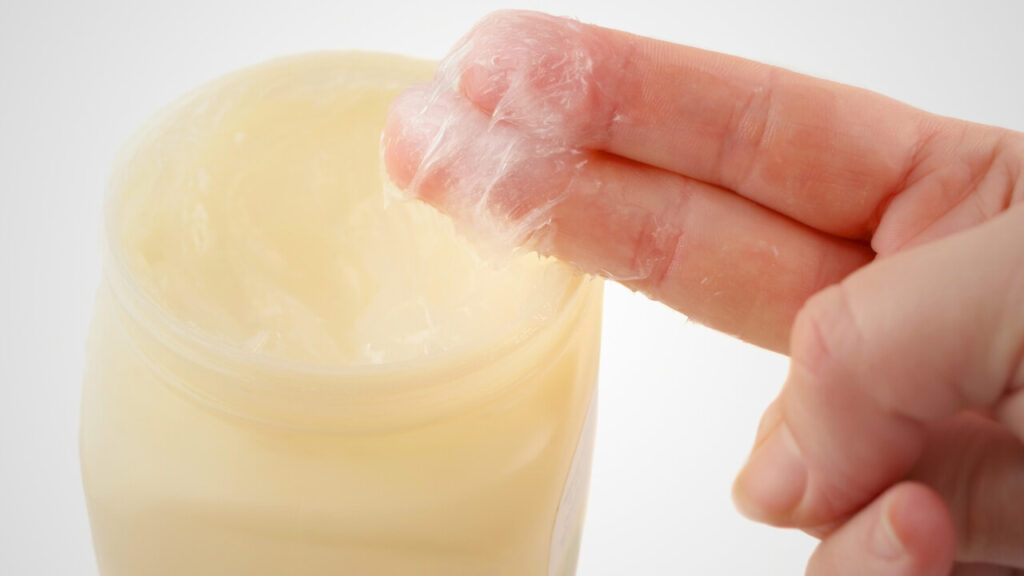
Now that your skin is ready for the tanning process, you can get started and work area by area. Start by creating a barrier where needed between the areas you want to tan and those you don’t. This means adding vaseline around hairlines and over eyebrows for facial tanning products.
Next add moisturiser lightly to areas that are prone to having more dry skin such as elbows, knees, ankles and wrists. These areas tend to absorb more product and this prevents them from turning out patchy or too dark. Lastly, it is a good idea to smother your hands in hand cream paying special attention to knuckles, between the fingers and making sure to blend into the wrists. Then it is time to put on your tanning mitt to protect your hands until it is time to treat them and get to work.
Working area by area in front of a mirror is important so you don’t overlook somewhere. But, I also learned the benefits of working from bottom to top to avoid ruining your work. Go leg by leg, paying attention to the back of the knees using the excess tanner on your mitt to do your feet and in between the toes. Then do the same for the other side. This can then can dry unimpeded as you work on the upper body, rather than tanning your torso and smudging it as you bend down. Next comes the belly and back, the upper body, and then the arms. Again with arms, be careful around the elbow joints. At this point, there should be enough excess tanner on the mitt to do your hands, go in between the fingers, down each side and bend the knuckles and wrists to get in the creases.
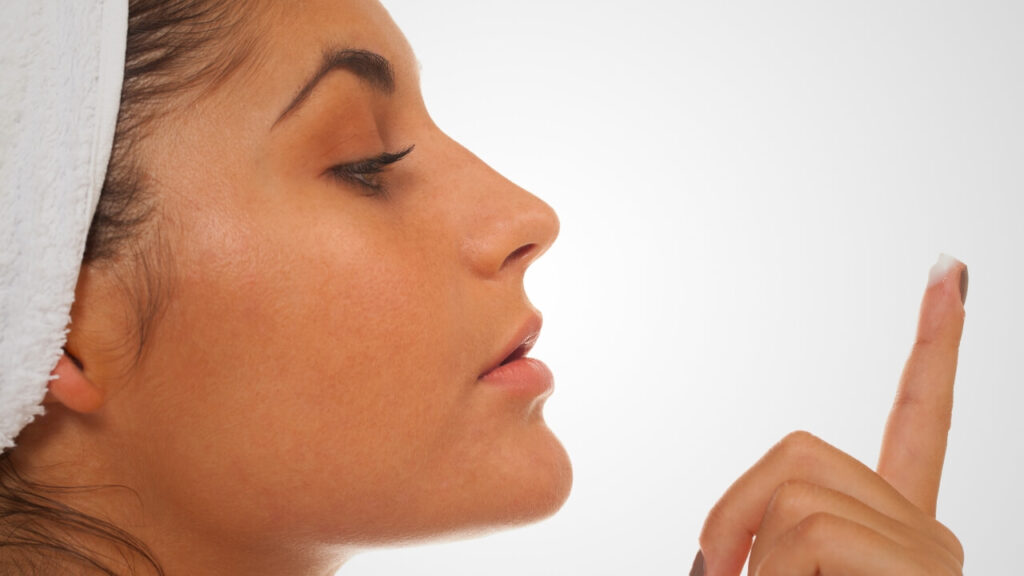
The face comes last because you will need a different product that is easy and safe to use on facial skin. It is important to take your time here and think about every bit of exposed skin. I know it would be easy to overlook the back of your ears or eyelids but they can stand out if you don’t have an even tan across the whole face.
It will take time to perfect the tan on any area, so don’t get too down on yourself if you miss something or get streaks. A couple of important tips I learned are to always use sweeping motions for the best coverage and to consider using a make-up brush for some difficult areas. You will figure out what works best for you with time.
Once the tanner is all over your body, make sure to wait long enough for it to dry before applying any additional products, like your deodorant and scents, and wait at least 10 minutes before dressing.
Maintenance
Finally, there is a lot to consider after applying your fake tan. You don’t want your skin to suffer, nor do you want the tan to rub off too easily after all that hard work. Dedicated aftercare can help.
If you are leaving the tan on to develop overnight it helps to find ways to stop it from rubbing off more than necessary. This can include alternative choices in clothing and bedding. I have read about people sleeping in satin sleeping bags to stop the tanner from getting on their sheets. This seems a little extreme to me as full-coverage pyjamas are more practical and comfortable. After all, you need to consider the practical side of all this if sharing a bed with someone else. You can also use talc-free powder on your skin to stop the tanner from getting sticky and to minimise transfer onto clothing.
There are quite a few steps you can take to protect your tan in the following weeks as long as you are consistent and careful. A good example comes when it is time to take a shower. You can’t just jump in a hot shower, use any old shower gel, dry off and expect your tan to stay the same. Self-tan maintenance requires cooler temperatures – which can be a problem if you are tanning over winter to make up for an absence of sunshine. Reduce the temperature and make sure to moisturise and exfoliate the skin regularly. Also, be aware that retinol and acne treatments can react with the tanner. These may be unavoidable, but it is worth keeping in mind.

Eventually, you will come to a point where you want to remove the tan and either go for bare skin or start over. Going back to bare skin for a while can help and give it time to rest and recover. Either way, make sure to wash it off gently in lukewarm water, dry it gently and apply some moisturiser.
The bottom line
As you can see there is a lot to take in and you might forget or mess up a step at first. That’s fine. As long as you remember to protect your skin, such as using sun protection when out in the sun and continuing to moisturise and exfoliate, you should be fine.

Don’t expect to get a perfect result the first time. I recommend starting with a gentle easy to use product like a mousse and sticking with lighter tones until you get more confident in creating an even coat. Check out products with guide colours and make use of freestanding mirrors and make-up brushes where you need to. Also, don’t forget to check out my other guide on the best natural and organic tanning products. Have fun finding your product, giving yourself the treatment, and getting the tone you want.
Leave a Reply